Photoshop文字設計-簡單好用的10種特效與陰影漸層技巧


透過學會這些簡單的Photoshop文字特效,您可以快速將您的設計作品提升到更高的質感!
在Photoshop中,文字設計是讓作品更具吸引力的關鍵之一。不論是為了創造引人注目的標題,還是強調某段重要的內容,學會使用各種文字特效如陰影、漸層、描邊等技巧,都能讓您的設計更具專業感。今天,我們將為您介紹10種簡單好用的Photoshop文字特效,讓您輕鬆掌握這些基本但強大的工具,迅速提升您的設計作品。
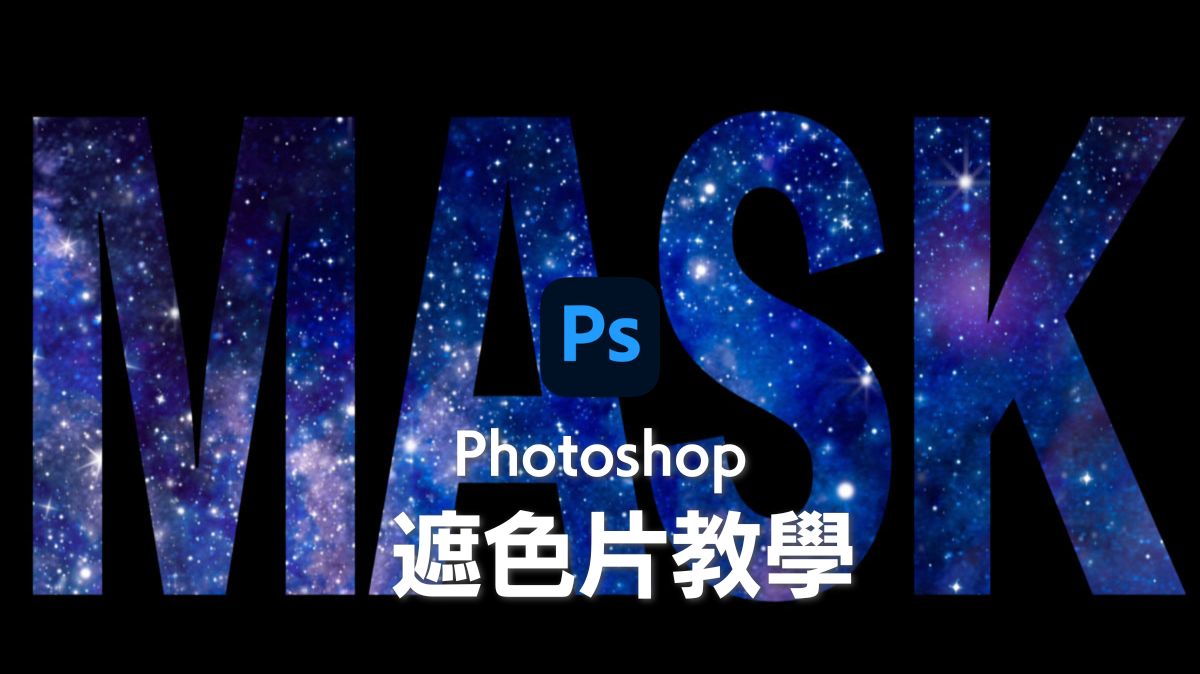
使用圖片剪裁文字
用剪裁遮色片就能簡單快速像下面的「GREEN」文字一樣用圖片剪裁文字。這樣文字更有設計感,更能表達想傳達的意思。
關於遮色片的詳細教學請參考下面的文章:


STEP1 更改圖層順序

在上圖中,文字位於照片圖層之上,但由於要根據下方的圖層進行剪裁,所以需要拖動圖層順序,將照片調整至最上方。
STEP2 建立剪裁遮色片

更改順序後,按住Alt(Option)鍵,同時點擊照片和文字圖層之間的空隙,這樣就可以建立剪裁遮色片了。
STEP3 調整照片圖層位置

建立剪裁遮色片後,選擇照片圖層並移動,這樣就可以僅移動背景照片,調整到您喜歡的位置,即可完成。
金色文字效果
想要有高級感或貴重的感覺,黃金色

STEP1建立新檔案

- 設定顏色模式為「RGB顏色 16bit」,這樣可以表現更平滑的漸層效果。
- 尺寸設定為4000x2000px。
- 背景設為黑色。
STEP2 輸入文字

選擇「文字工具T」,首先將文字顏色更改為50%灰色,然後使用您喜歡的字體輸入文字。
STEP3 圖層樣式「斜角和浮雕」

為了讓文字呈現立體感,應用圖層樣式「斜角和浮雕」。雙擊文字圖層以打開圖層樣式,勾選「斜角和浮雕」。點擊「斜角和浮雕」,並將「深度」設為700%,「尺寸」設為11px。設定完成後,點擊「確定」。
STEP4 群組化

為了將建立的斜角和浮雕效果與後續效果區分開來,在圖層面板中將文字圖層拖至文件夾圖示群組化。
STEP5 免費下載金色漸層

從以下網站免費下載並安裝金色文字用的漸層預設「Ultimate Gold(GRD文件)」。
網站連結
STEP6 建立新調整圖層「漸層」

在圖層面板右下方選擇新調整圖層「漸層」。
STEP7 選擇漸層

在漸層填色視窗中點擊「漸層」再選擇剛剛下載並安裝的「Ultimate Gold」
STEP8 建立剪裁遮色片

按住Alt(Option)鍵並點擊圖層,將其轉換為剪裁遮色片。
完成!
文字筆畫(描邊)效果

在文字裝飾中,最常使用的應該就是「文字筆畫(描邊)」。
透過在文字周圍加上線條,不僅能提升視覺可讀性,還能讓文字看起來更時尚。
(筆畫方式1) 使用圖層樣式

STEP1

雙擊文字圖層
STEP2
打開圖層樣式
STEP3

勾選「境界線」
STEP4
選擇線條的尺寸、位置、顏色和不透明度。
這樣就完成了描邊效果。
(筆畫方式2) 將筆畫顏色設置為漸層

STEP1

雙擊文字圖層
STEP2
打開圖層樣式
STEP3

勾選「筆畫」
STEP4
將填色類似設置為「漸層」
STEP5
選擇漸層種類,樣式,角度,縮放,不透明度,等。
關於漸層請看看下面的文章

(筆畫方式3) 將文字描邊設置為雙重筆畫

上圖範例使用了兩個筆畫。一個漸層筆畫,另一個是深藍色的筆畫。
做法非常簡單,只需在普通筆畫方法的基礎上增加一個步驟即可。
STEP1
雙擊文字圖層
STEP2
打開圖層樣式
STEP3
點擊境界線標籤右側的「+」號
STEP4

當境界線增加到兩條時,調整第二條線的尺寸
STEP5
更改外側的雙重筆畫部分的尺寸,尺寸一定要比第一層的大一點。另外選擇顏色,不透明度等。

如果再點擊「+」號,可以繼續增加筆畫效果,無論是三重還是四重筆畫都可以實現!
為文字添加陰影效果
使用圖層樣式「陰影」

STEP1
雙擊文字圖層
STEP2
打開圖層樣式
STEP3

勾選「陰影」標籤
STEP4
設置顏色、不透明度、角度、距離和尺寸
這樣就完成了投影效果。
漸層效果
使用圖層樣式為文字添加漸層

STEP1
雙擊文字圖層
STEP2
打開圖層樣式
STEP3

勾選「漸層覆蓋」
STEP4
設定漸層種類,不透明度、樣式、角度和縮放等。
這樣就完成了漸層效果。
變形文字
弧形文字

STEP1

使用橢圓形工具繪製一個圓形
STEP2
使用文字工具點擊圓形
STEP3
沿著圓形輸入文字
使用鋼筆工具設置任意形狀
STEP1
選擇鋼筆工具 (P)
STEP2
繪製您想讓文字沿著的形狀
STEP3
使用文字工具點擊路徑
STEP4

輸入文字
使用「彎曲工具」變形

STEP1
選擇文字
STEP2
按Ctrl(⌘)+T
STEP3

右鍵點擊並選擇「彎曲」
STEP4

在選項列中選擇「弧形」,「上弧形」,「下弧形」,「拱形」,「凸出」等。可以瞬間改變文字形狀。
總結
透過這些簡單的Photoshop文字設計技巧,無論您是初學者還是經驗豐富的設計師,都能輕鬆創造出令人驚艷的作品。文字的設計不僅僅是打字,它是提升整體設計質感的重要元素。只需稍加練習,您就能運用這些技巧來創造出獨特而具吸引力的文字效果,讓您的設計更加出色。
Photoshop方案選擇 一看就懂!
在這裡整理了最划算購買Photoshop的要點,了解自己的需要就能正確判斷:
最划算的Photoshop購買方法請看看下面的文章:
Photoshop相關文章
Masablog Adobe相關人氣文章!
Adobe相關 最新文章
